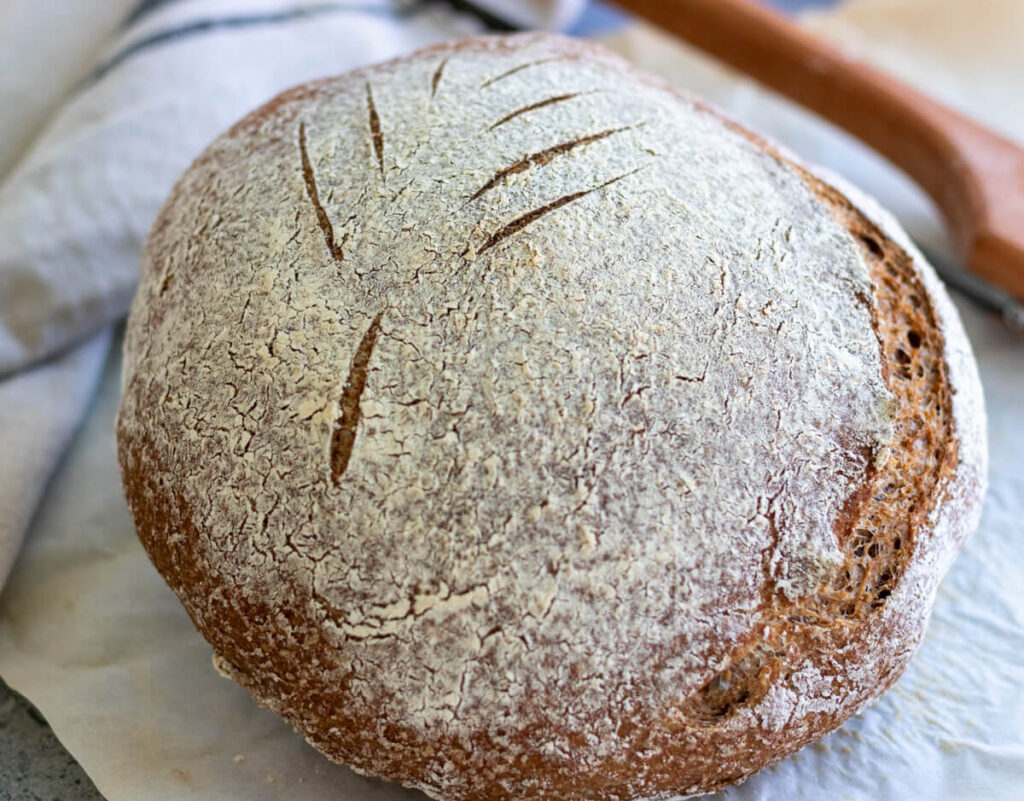
SIMPLE Sourdough Boule made with Freshly Milled Flour
This sourdough boule made with freshly milled flour is so easy to make! It has just a few simple ingredients and a straightforward technique. It produces a wholesome loaf from just starter, freshly milled flour, water, and sea salt. This is my favorite sourdough bread recipe.
When I first started making sourdough in 2020 I was utterly overwhelmed by hydration levels, dough temperature, setting timers, etc. I started, made a few bricks, and gave up. I am so glad I tried again a year later because making a great loaf of sourdough bread is actually very simple and the health benefits are worth the learning curve. If you are used to working with all-purpose flour then learning how to manipulate freshly milled flour dough can feel foreign but I promise it is worth it.
Why use Freshly Milled Flour?
There are so many advantages of freshly milled flour. I know it can seem like just one more “healthy thing to do” but I think it is so much more than that. The higher nutrition, richer flavor, and superior texture blow all purpose or bread flour out of the water.
Flour that’s been sitting on the shelf for months (or even years) isn’t just stale—it’s lacking in essential oils, vitamins, and minerals that make fresh, whole grains so special. When you mill flour yourself, you retain all of these vital nutrients, and you capture the freshest possible flavor. The difference is night and day.
I go into way more detail in this post if you are curious!

List of Ingredients for this Whole Wheat Sourdough Bread
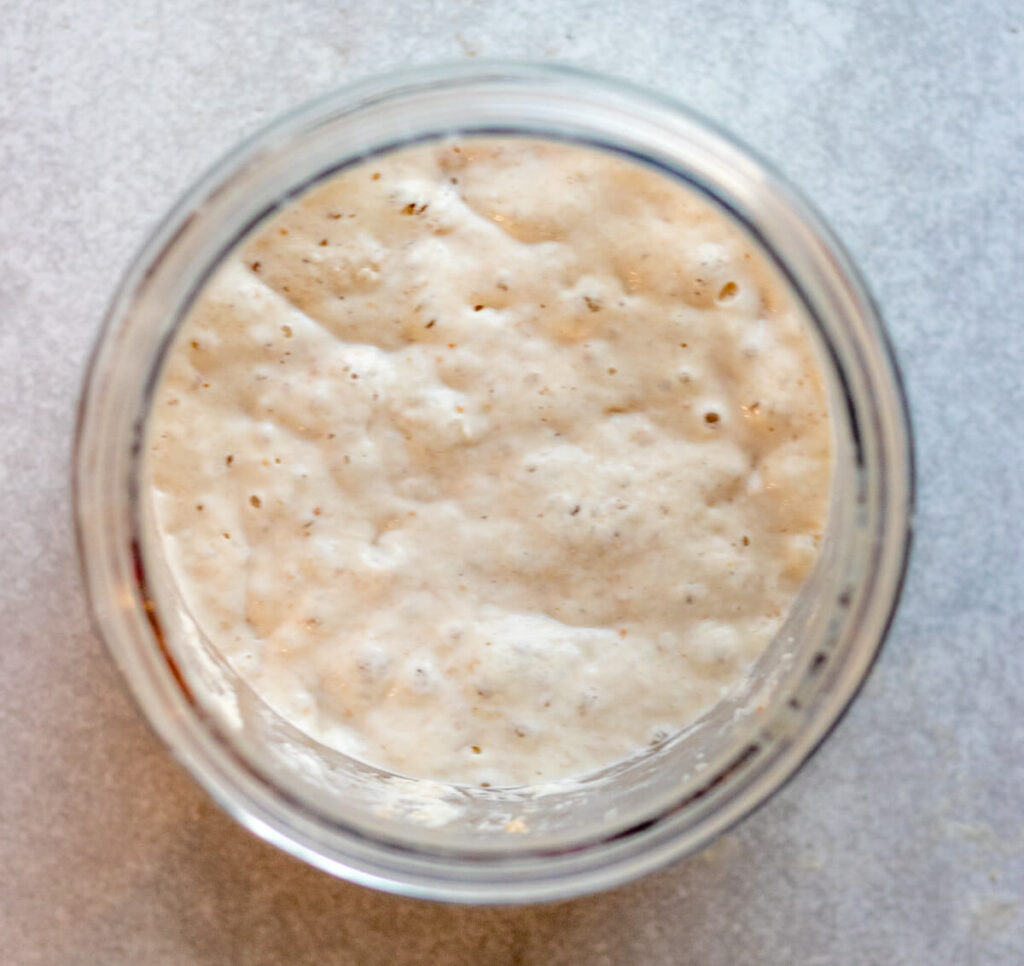
Active Sourdough Starter – it should be bubbly and doubled in size. To achieve this, make sure you feed it 8-12 hours beforehand. To speed it up, you can feed it warm water and it will probably be ready in 4 hours.
Hard Red Wheat Berries – this will give you the whole wheat flour.
Water – ideally you would use filtered water. Depending on your tap water, the chlorine can do funky things to sourdough.
Salt – The only salt I use is Redmond’s Real Salt. Just don’t use table salt.
A full ingredient list with exact amounts can be found in the recipe card below.
How to Make a Sourdough Boule with Freshly Milled Flour
1. Feed your Sourdough Starter
Your starter is the heart of your sourdough. To ensure your starter is at its peak, make sure you’ve fed it 8-12 hours ago. A healthy, bubbly starter is key to achieving that characteristic tang in your bread. Your bread won’t rise without it. I feed mine the night before if I plan to make bread the next morning.
If you haven’t started a starter yet, it’s simple—combine equal parts flour and water, and over the course of 5 to 7 days, feed it with fresh flour and water until it’s bubbling with life. To be honest with you, I recommend looking on Facebook marketplace for a starter. I got mine for $5 years ago and it was already super active and ready to go. Here’s a great post about creating one if you don’t want to/can’t find one on marketplace.
2. Combine the Water and Starter
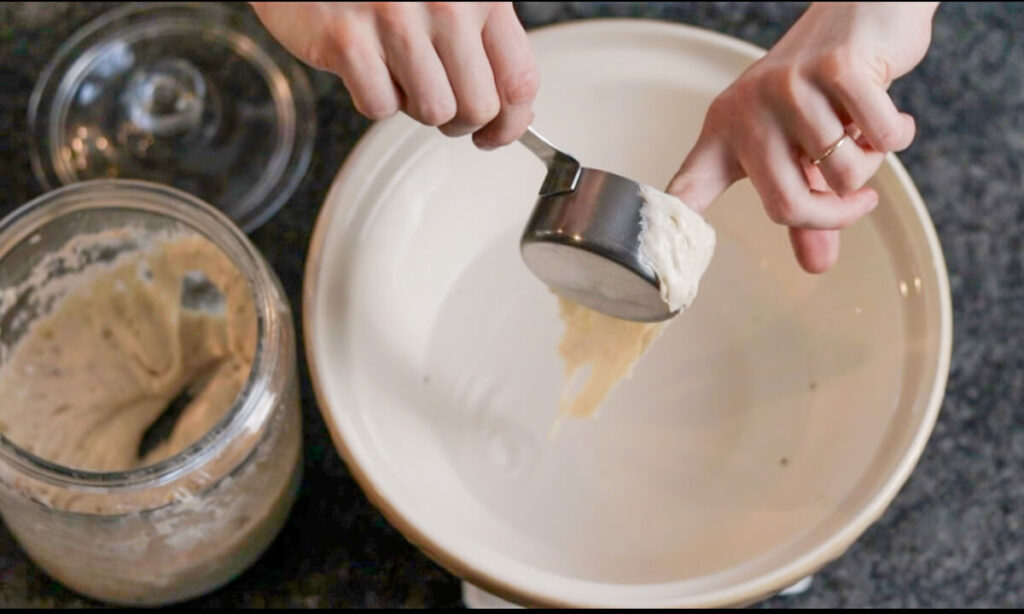
Place your bowl on your food scale and zero it out (press the tare button.) Pour in 325 grams of water. *If your kitchen is warm then room temperature water is fine. You don’t want the water to be more than 90 degrees. I typically heat mine in the microwave for 30 seconds (I know, I know, microwaves are controversial.) Use a food thermometer is you’re unsure.
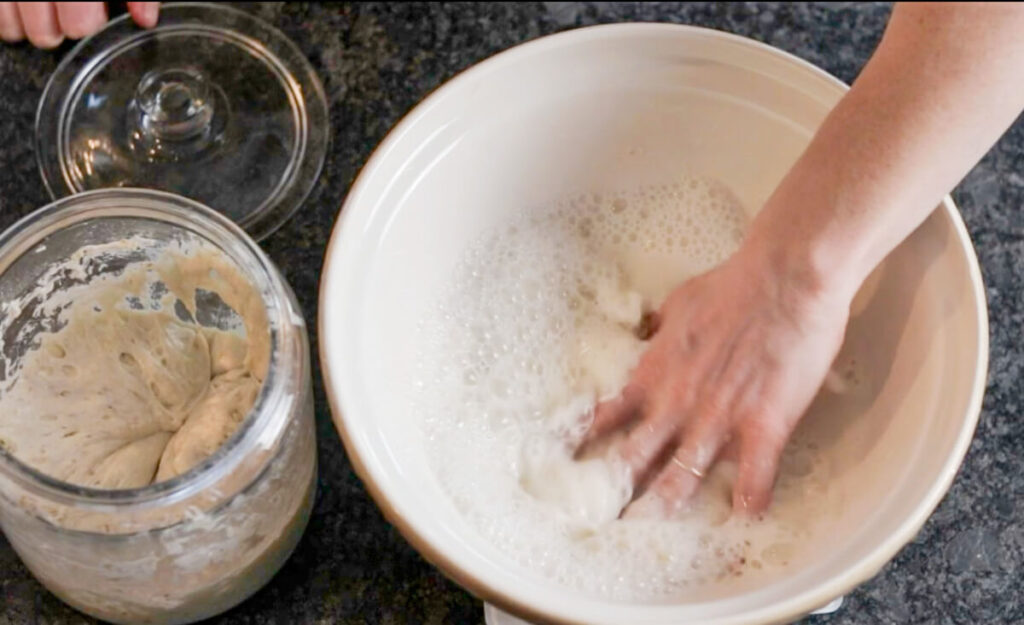
Add in your starter and mix with your hands or a dough hook until it is mixed into the water. The water will look milky.


3. Mill the Flour
If you don’t have a grain mill at home yet, you’ll need to invest in one. I recommend an electric mill, especially if you plan on milling flour regularly, as it’s quick and efficient. You can choose from a variety of grains, but for a sourdough boule, I recommend using hard wheat. My family prefers hard red wheat, but for a milder flavor you can use hard white wheat. Or use a combo! These grains will give your bread that hearty, rustic flavor.
Place your bowl with the combination of water and starter underneath the grain mill. Measure out 485 grams of hard wheat and mill it directly into the bowl.

4. Mix the Dough
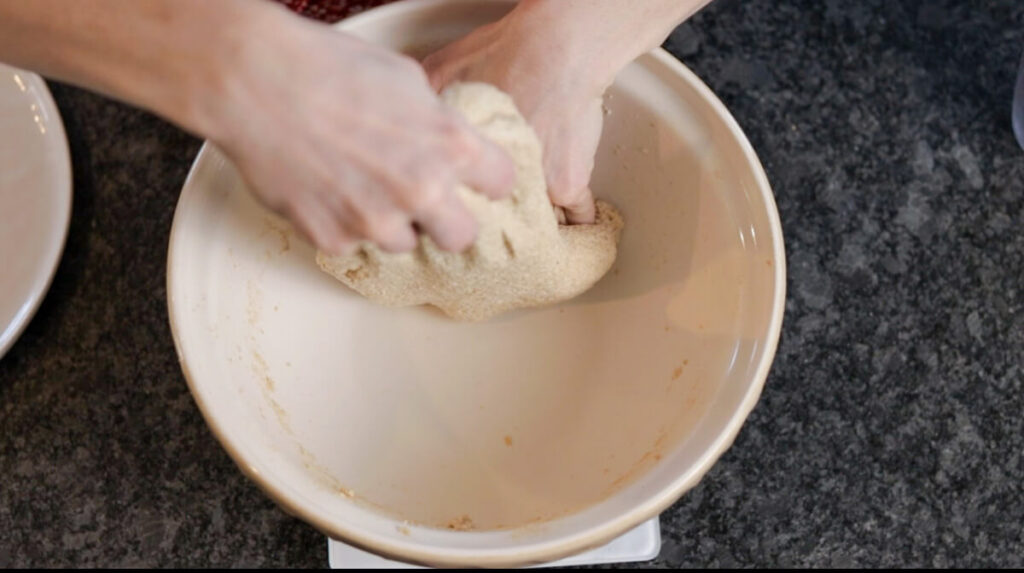
Using your hands or a dough whisk, mix together the flour and water/starter until fully combined. You will have a shaggy dough. If you are used to using all-purpose or bread flour then the dough will feel very wet and you will be tempted to add more flour. Don’t do it! The fresh milled flour takes longer to absorb the liquid but I promise it will come together. Cover the bowl with a damp tea towel, plate, or plastic shower cap and let it sit for an hour.
After an hour, add 10 grams of sea salt, pinch it into the dough, and start your stretch and folds.
5. Bulk Fermentation and Stretch & Folds
The beauty of sourdough is in the fermentation process. After mixing the dough, you will perform sets of stretch and folds every 30 minutes to an hour for a total of 4 – 6 times. This helps build structure and allows the dough to develop flavor as the wild yeast in your starter works its magic. I think the stretch and fold method is the best way but you could also try putting it in the stand mixer for around twenty minutes.
When I first started making sourdough, this stressed me out. I would set a timer on my phone and I would take my sourdough with me if I had to run errands. After many years and many loafs made, I will tell you that I can’t tell a difference as long as throughout the day as it’s fermenting it gets 4-6 stretch and folds.
To properly do a stretch and fold, imagine your loaf is a square. you will take one side, stretch it as high as it will go, and fold it over to the opposite side. You will rotate the bowl a quarter turn, and repeat this process until all four sides have been stretched and folded. The first few stretches won’t stretch much but as the gluten develops it will get stretchier.

5. Shaping the Boule
After the dough has fermented, it’s time to shape it. The time it takes to ferment will vary greatly depending on the temperature of your house. I will also tell you that I have found freshly milled flour to ferment much faster than all-purpose flour. I know my dough is ready when it doesn’t stick to the side of the bowl and has risen almost double. In my house, during most of the year this takes around 8 hours.
To shape your Boule, flour your work surface lightly, and gently lay the dough into a rectangle. Roll it up like a hot dog bun, then take the opposite side, and roll it up, creating a traditional round loaf. You will want to pull on it slightly against the counter to create tension. Try not to deflate all the air bubbles you’ve worked so hard to create—this will result in a dense, but tender crumb.
6. Final Proofing in the Fridge
Place your loaf into a banneton basket, cover with plastic wrap, a plastic bag, or a shower cap, and put it into the fridge overnight.
7. Baking the Sourdough Boule
The next day place your dutch oven into your range and preheat your oven to 490°.
When the oven is preheated take your banneton basket out of the fridge. Flip the dough from the basket onto a piece of parchment paper and rub the top of the dough with flour (use whatever you have on hand). Then, taking a razor blade or lame, score your bread.


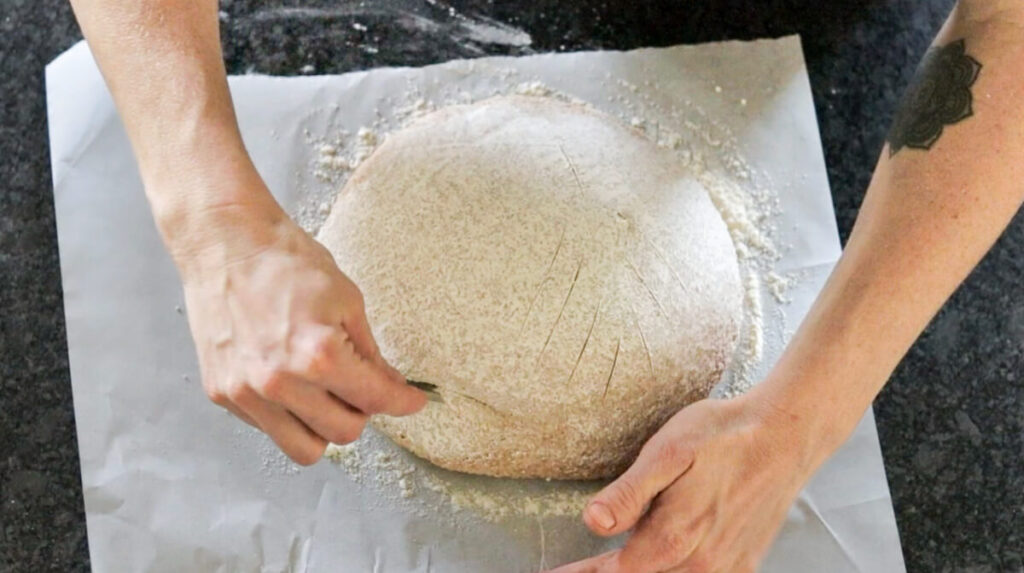
The options are endless here. You can create a pretty design or just simply score it down the middle. The most important thing is that the dough has at least one score at a 45 degree angle. The goal is to make a smooth, clean incision without dragging the dough too much. If your dough has been fermented well, it should spring back slightly when you score it, but it won’t deflate. Here’s a video that shows this.
- For a single slash, you can angle it at 45 degrees across the dough.
- For an X or cross, start from the center and make two slashes in opposite directions.
- For more intricate designs, use the lame in a precise way, carving carefully to create patterns. Just make sure you have one deep 45 degree angle slash to let enough gas escape.
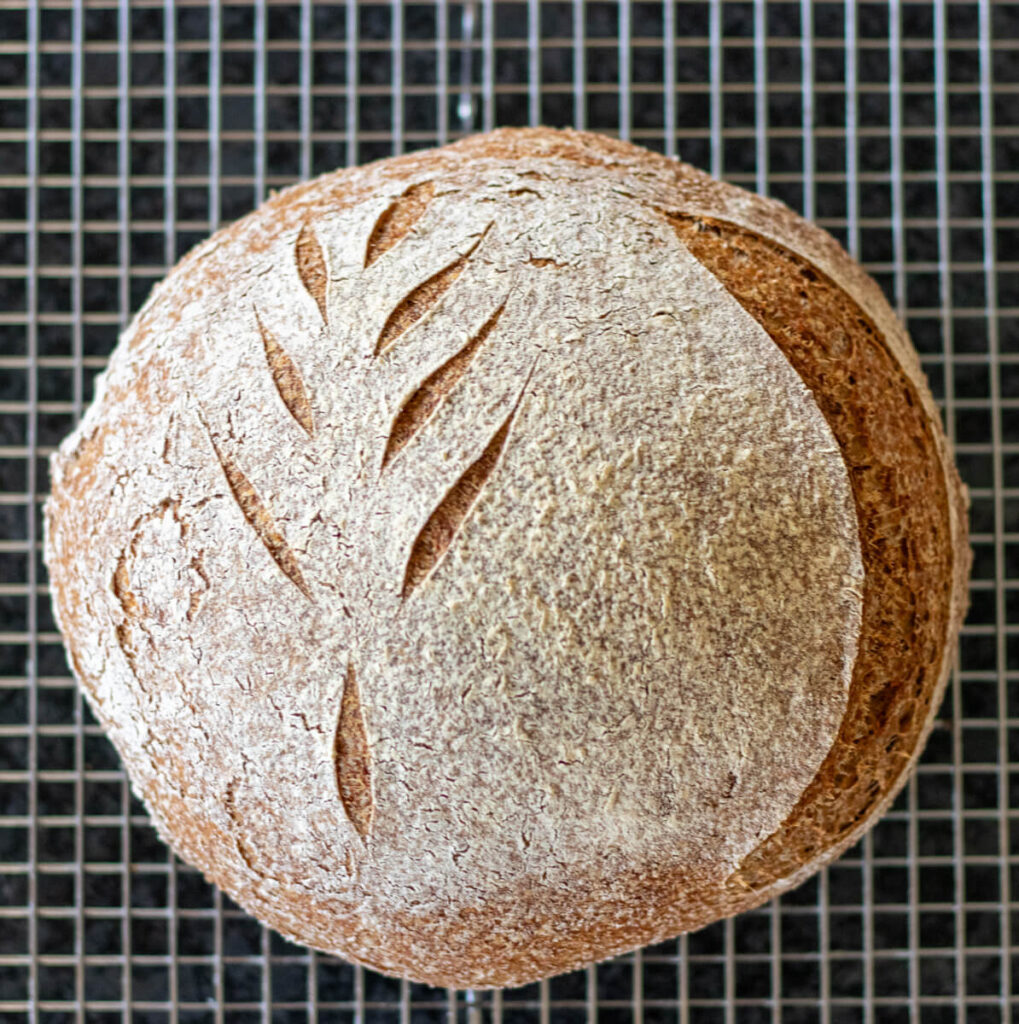
Carefully place your boule into the preheated dutch oven, cover it with the lid, and bake for 20 minutes. After that, remove the lid, reduce the temperature to 465°F , and bake for another 20–25 minutes until the loaf has a deep golden-brown crust.

8. Enjoy your Sourdough Boule with Freshly Milled Flour!
Let your bread cool for at least an hour before slicing into it. Really, you should let it cool completely before slicing, but who can resist warm bread?! If you slice into it before it’s cooled at least slightly then you will find it slightly gummy. Happy baking!


Tips for making this Sourdough Boule with Freshly Milled Flour
- This is not going to perform or be as fluffy as store bought bread or a loaf using all purpose flour. It’s amazing and delicious, but different.
- Make sure your starter is active. If it’s not, the bread won’t rise.
- If your house is cold then put this in a warm place to ferment. In the winter, I put it a few feet away from the fire.
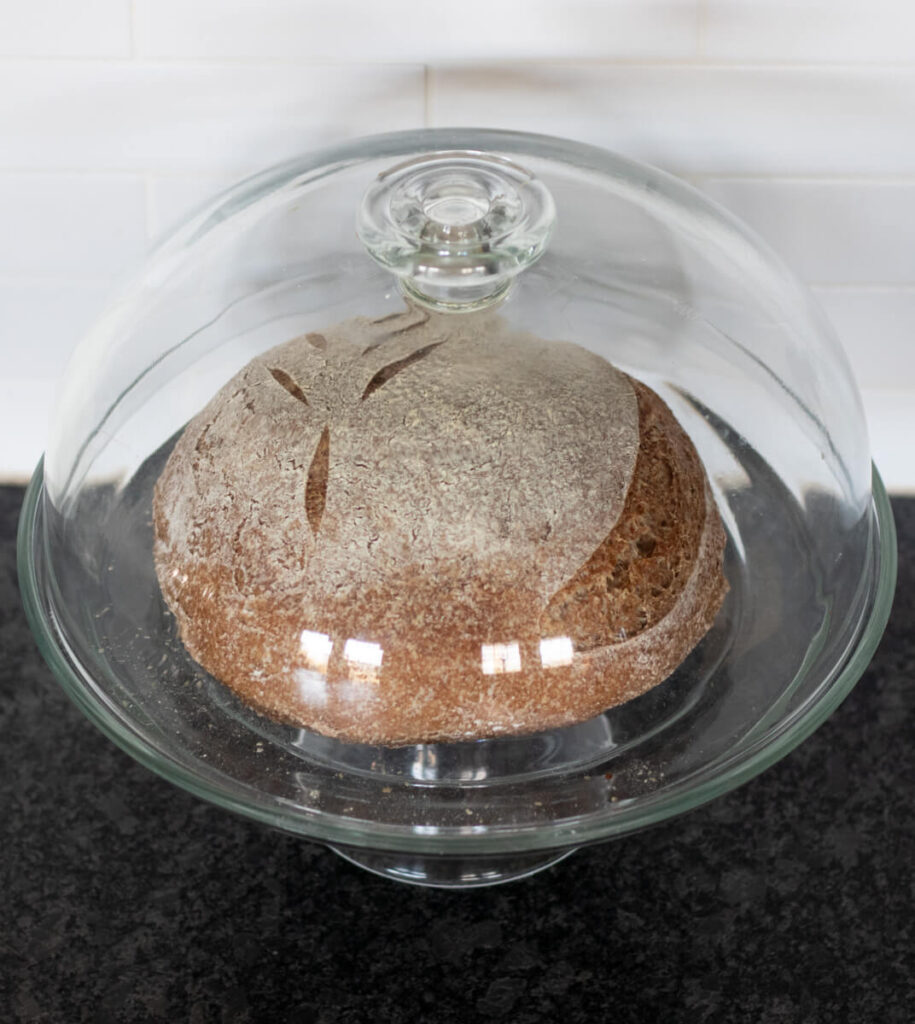
How to store Sourdough
I store my sourdough in a vintage glass cake stand with a lid. It keeps it fresh for several days and I love being able to see my hard work on the counter. Plus, I feel like it’s just inviting to anyone we have over. You can also store it in the dutch oven you bake it in, a plastic bag, or wrapped in a tea towel if it will be eaten within a day.
Tools you may need to make the Sourdough Boule with Freshly Milled Flour:
- A Dutch Oven, at least 5 quarts
- Grain Mill
- Banneton basket
- Hard Wheat Berries
- Dough Whisk (optional)
Questions
Find More Whole Wheat Sourdough Recipes
- Easy Whole Wheat Chocolate Chip Pumpkin Bread
- Healthy Carrot Raisin Muffins With Fresh Milled Flour
- Dairy Free Skillet Cobbler Cake Made with Freshly Milled Flour


Sourdough Boule with Freshly Milled Flour
Equipment
- Dutch Oven, at least 5 quarts
- Grain Mill
- Banneton Basket
- Hard Wheat Berries
- Dough Whisk optional
Ingredients
- 345 grams water
- 485 grams hard red wheat berries ground into flour
- 100 grams active sourdough starter
- 10 grams sea salt
Instructions
- Feed your sourdough starter. To ensure your starter is at its peak, make sure you’ve fed it 8-12 hours before you bake your bread. I feed mine the night before I plan to make bread.
- Combine the water and starter.Place your bowl on your food scale and zero it out (press the tare button.) Pour in 345 grams of water. *If your kitchen is warm then room temperature water is fine. Otherwise warm it up. You don't want the water to be more than 90 degrees. Add 100 grams of starter and mix with your hands or a dough whisk until it is mixed into the water. The water will look milky.
- Place your bowl with the combination of water and starter underneath the grain mill. Measure out 485 grams of hard wheat and mill it directly into the bowl.
- Using your hands or a dough whisk, mix together the flour and water/starter until fully combined. You will have a shaggy dough. If you are used to using all-purpose or bread flour then the dough will feel very wet and you will be tempted to add more flour. Don't do it! The fresh milled flour takes longer to absorb the liquid but I promise it will come together. Cover the bowl with a damp tea towel, plate, or plastic shower cap and let it sit for an hour.
- After an hour, add 10 grams of sea salt, pinch it into the dough, and start your stretch and folds.
- Perform sets of stretch and folds every 30 minutes to an hour for a total of 4 – 6 times.To properly do a stretch and fold, imagine your loaf is a square. You will take one side, stretch it as high as it will go, and fold it over to the opposite side. You will rotate the bowl a quarter turn, and repeat this process until all four sides have been stretched and folded. The first few stretches won't stretch much but as the gluten develops it will gets stretchier.
- To shape your Boule, flour your work surface lightly, and gently lay the dough into a rectangle. Roll it up like a hot dog bun, then take the opposite side, and roll it up, creating a traditional round loaf. You will want to pull on it slightly against the counter to create tension. Try not to deflate all the air bubbles you’ve worked so hard to create.
- Place your loaf into a banneton basket, cover with plastic wrap, a plastic bag, or a shower cap, and put it into the fridge overnight.
- The next day place your dutch oven into your range and preheat your oven to 490°.When the oven is preheated take your banneton basket out ofthe fridge. Flip the dough from the basket onto a piece of parchment paper and rub the top of the dough with flour (use whatever you have on hand). Then, taking a razor blade or lame, score your bread. Carefully place your boule into the preheated dutch oven, cover it with the lid, and bake for 20 minutes. After that, remove the lid, reduce the temperature to 465°F , and bake for another 20–25 minutes until the loaf has a deep golden-brown crust.
- Let your bread cool for at least an hour before slicing into it. Really, you should let it cool completely before slicing, but who can resist warm bread?! If you slice into it before it's cooled at least slightly then you will find it slightly gummy. Happy baking!
Notes
- Read my detailed instructions in the blog post. I go into more depth.
- This is not going to perform or be as fluffy as store bought bread or a loaf using all purpose flour. It’s amazing and delicious, but different.
- Make sure your starter is active. If it’s not, the bread won’t rise.
- If your house is cold then put this in a warm place to ferment. In the winter, I put it a few feet away from the fire.