Everything You Need To Know About Milling Flour at Home
Are you curious about milling your own flour at home? What the heck is a wheat berry? What is a grain mill? I’m going to answer all of your questions and convince you it’s worth it to mill your own flour!

Why Should You Mill Your Own Flour?
To sum it all up – real bread tastes better and it’s way better for you!
As a wife and mom I am always trying to sneak in as many nutrients as a I can into my family’s diet and to me, fresh milled flour is one of the easiest and tastiest ways.
There’s a reason why artisanal bakers, top pastry chefs, and home bakers alike are all turning to fresh ground flour, and if you haven’t jumped on the bandwagon yet, here are seven reasons why you should start today.
1. Better Flavor, Hands Down
Freshly milled flour is like the difference between store-bought bread and a warm loaf from your favorite bakery. When wheat is milled, its whole grain oils begin to oxidize, and the flour starts to lose its natural flavors. By milling it fresh right before baking, you’re capturing all those rich, nutty, and aromatic flavors that you simply can’t get from pre-packaged flour. It brings a depth to your bread, pastries, and even pancakes!
2. Way Healthier – Reap the Benefits of Whole Grains
- Preserved Nutrients: When flour is milled and stored, the nutrients, especially the B vitamins, fiber, and minerals, can degrade over time. Freshly milled flour, on the other hand, retains more of these valuable nutrients because it hasn’t had time to oxidize or lose its freshness. Whole grains contain the bran, germ, and endosperm, and milling at home allows you to keep all these parts intact. Out of the 44 known essential nutrients needed by our bodies and naturally obtained from foods, only 4 are missing from wheat–vitamin A, B12, and C, and the mineral iodine!
- Higher Fiber Content: Because freshly milled flour retains all of the bran and germ, it is naturally higher in fiber compared to store-bought, refined flour. Fiber is essential for digestion and overall health, and this contributes to the dense, hearty texture of bread made with freshly milled flour.
- Essential Fatty Acids: The germ of the wheat kernel is where most of the fat is stored, including healthy fats like omega-3 fatty acids. When you mill your own flour, these fats are preserved, offering a boost of nutrition that’s typically lost in commercially refined flours.
3. Texture That’s Second to None
Freshly milled flour has a finer, softer texture than store-bought flour, making it the perfect base for light, fluffy cakes, biscuits, and muffins. It also retains more of the natural starches and proteins from the wheat, which can improve the structure and crumb of bread. This means a perfect loaf with a chewy, airy interior and a crisp, golden crust.

4. Control Over the Milling Process
- Customization: By milling your own flour, you can experiment with different grind sizes (fine, medium, or coarse). This customization can make a significant difference in the texture and look of your bread. For instance, a coarser grind gives your bread a more rustic, hearty feel, while a finer grind can create a soft, airy flour for cakes and cookies.
- Unique Grain Characteristics: Each variety of grain has its own flavor notes, and milling at home allows you to select the specific type of grain you want to use (e.g., heritage wheat varieties, organic grains, spelt, or rye,), which can enhance the flavor of your bread. You can even blend different grains for a more customized taste. This opens up a whole new world of experimentation in your baking.
5. More Sustainable and Ethical
- Less Processing and Packaging: By milling your own flour, you reduce the need for industrial-scale processing, packaging, and transportation. You can often purchase grains directly from local farmers, which supports local agriculture and reduces your carbon footprint.
- Zero Waste: You are using the entire grain without wasting any parts. This results in a flour that’s nutrient-dense and more eco-friendly.
6. Greater Connection to Your Bread
There’s something truly satisfying about milling your own flour. It’s a sensory experience, feeling the grains grind down into a fine powder, and knowing exactly what’s going into your food.
7. Avoidance of Additives and Preservatives
Most pre-packaged flour sits on shelves for months, and in order to keep it shelf-stable, it often contains additives or preservatives. Freshly milled flour, on the other hand, is pure and free of any unnecessary ingredients. This means your baked goods are as clean and wholesome as they can be.
What You Need to Get Started
1. A Flour Mill (or Grain Mill)

The most important piece of equipment you’ll need is a grain mill. In my opinion, it is absolutely an investment that pays off in flavor, health benefits, and pure baking joy. There are two main types to choose from:
- Manual Grain Mills: These mills require a bit of elbow grease, as you’ll be turning the handle yourself to grind the grains. They’re usually more affordable, and they allow for a slower, quieter milling process. Manual mills can be a good option if you don’t bake bread often or if you’re looking for a low-maintenance option.
- Electric Grain Mills: These are faster and more efficient, requiring less effort on your part. They often come with adjustable settings so you can control the coarseness or fineness of the grind. Electric mills are ideal for people who bake regularly or in larger quantities. They tend to be pricier, but they’re worth the investment if you’re serious about milling flour. I have a Nutrimill Harvest Grain Mill in Black. Not only is it beautiful on my counter but it’s worked flawlessly for over two years now.
When selecting a mill, consider the following:
- Grind Settings: Some mills have adjustable settings that allow you to control how fine or coarse the flour is. I think this is essential.
- Capacity: Think about how much flour you need and choose a mill with a capacity that suits your needs. My mill can’t mill a ton of flour at once but that’s okay for a home baker like me.
- Durability: Look for a sturdy mill made from quality materials to ensure it lasts over time.
2. Grains for Milling Your Own Flour at Home
Next, you’ll need to choose the type of grain you want to mill. Wheat berries are the most common choice, but there are plenty of other grains to explore, such as rye, spelt, barley, or oats. Each grain will provide different flavors, textures, and baking properties. Below are the grains I keep on hand as they cover all the bases.

- Hard Red Wheat: This is the most common choice for bread baking. It has a high protein content, which makes it great for creating strong, chewy doughs with a hearty flavor. I use this for all of my actual bread – boules and sandwich loafs. It has a stronger taste, hard to describe- maybe more earthy? But my family prefers it.
- Hard White Wheat: Milder in flavor, hard white wheat produces a lighter loaf than red wheat, but still retains the strong structure necessary for bread. I use this for pancakes, English muffins, pizza dough, etc – anything I want to make more mild tasting.
- Soft Wheat: Typically used for pastries, cakes, and other delicate baked goods. It has lower protein content than hard wheat, resulting in softer textures. I personally use this for cookies, pie crusts, and cakes!
- Einkorn – I love this grain but it’s extremely expensive. I typically only use it for cream of wheat or a special loaf!
You can buy whole grains in bulk from local farmers, health food stores, or online retailers. I buy my organic wheat berries exclusively through Azure Standard as I have found it to be the best price and quality.

3. Storage Containers
Once you’ve milled your flour, you’ll want to store it properly to preserve its freshness. Flour should be kept in airtight containers to avoid exposure to air, moisture, and pests. Glass jars, food-safe plastic containers, or vacuum-sealed bags are all excellent choices for storing freshly milled flour. I keep my bulk grains in five-gallon buckets with gamma lids from Azure Standard. Then, I scoop some into glass jars that I keep on my counter for easy smiling. Properly stored wheat berries will last you a long time – up to thirty years!

Freshly milled flour contains oils from the germ, which can spoil over time, so it’s best to grind it right before you use it. If you won’t be using all the flour right away, you can store it in the freezer to extend its shelf life, but honestly, I wouldn’t recommend it. Just wait until you are ready to bake and grind it right beforehand.
The Milling Process: A Step-by-Step Guide
Milling your own flour is surprisingly easy once you get the hang of it. Here’s how to do it:
- Prepare Your Grain: Measure out the amount of grain you need for your recipe. For example, 2/3 cup of wheat berries will yield about 1 cup of flour. It’s a good idea to start small and experiment with different grains and grind sizes until you get the results you want. I have found the most precise way is to measure in grams. So if a recipe calls for 240 grams of flour, I will measure out 240 grams of grains.
- Set the Grind Size: Adjust your mill’s settings to the desired coarseness or fineness. For bread baking, you’ll usually want a fine or medium grind. For pastries, you may prefer a finer, almost powdery flour. I typically use three settings:
- the finest it will go for cookies, pie crust, and cakes
- right in the middle for pancakes and bread
- the coarsest it will go for cream of wheat
- Mill the Grain: Start the mill, either by turning the handle or turning it on, and let it grind the grains into flour. Be sure to monitor the process to ensure everything is milling properly. Some mills have a built-in container to catch the flour as it’s milled, while others may require you to place a bowl underneath. Don’t walk away, as soon as it’s done milling you want to turn it off – otherwise, the stones grind against themselves.
- Check the Flour: Once your flour is milled, take a quick look at the texture. If it’s too coarse for your recipe, you can always pass it through the mill again for a finer grind.
Tips for Milling Your Own Flour at Home
- Experiment with Different Grains: Don’t limit yourself to just wheat. Try rye, spelt, or even ancient grains like einkorn for a more diverse baking experience.
- Adjust for Hydration: Freshly milled flour tends to absorb more water than store-bought flour, so be prepared to adjust your recipes slightly. You might need to add a little more water to your dough to get the right consistency.
- Start with Small Batches: Milling flour at home can produce a lot of flour quickly, so start with small batches until you get a feel for the process.
With the right equipment and a bit of practice, milling your own flour can become a satisfying part of your baking routine. So, why not give it a try? Start with a small batch of fresh ground grains, experiment with different varieties, and enjoy the process. You might just find that fresh-milled flour makes all the difference in your baking adventures! Good luck!
What’s your favorite thing to bake with freshly milled flour? Let me know in the comments below—I’d love to hear how you’re using this powerhouse ingredient!
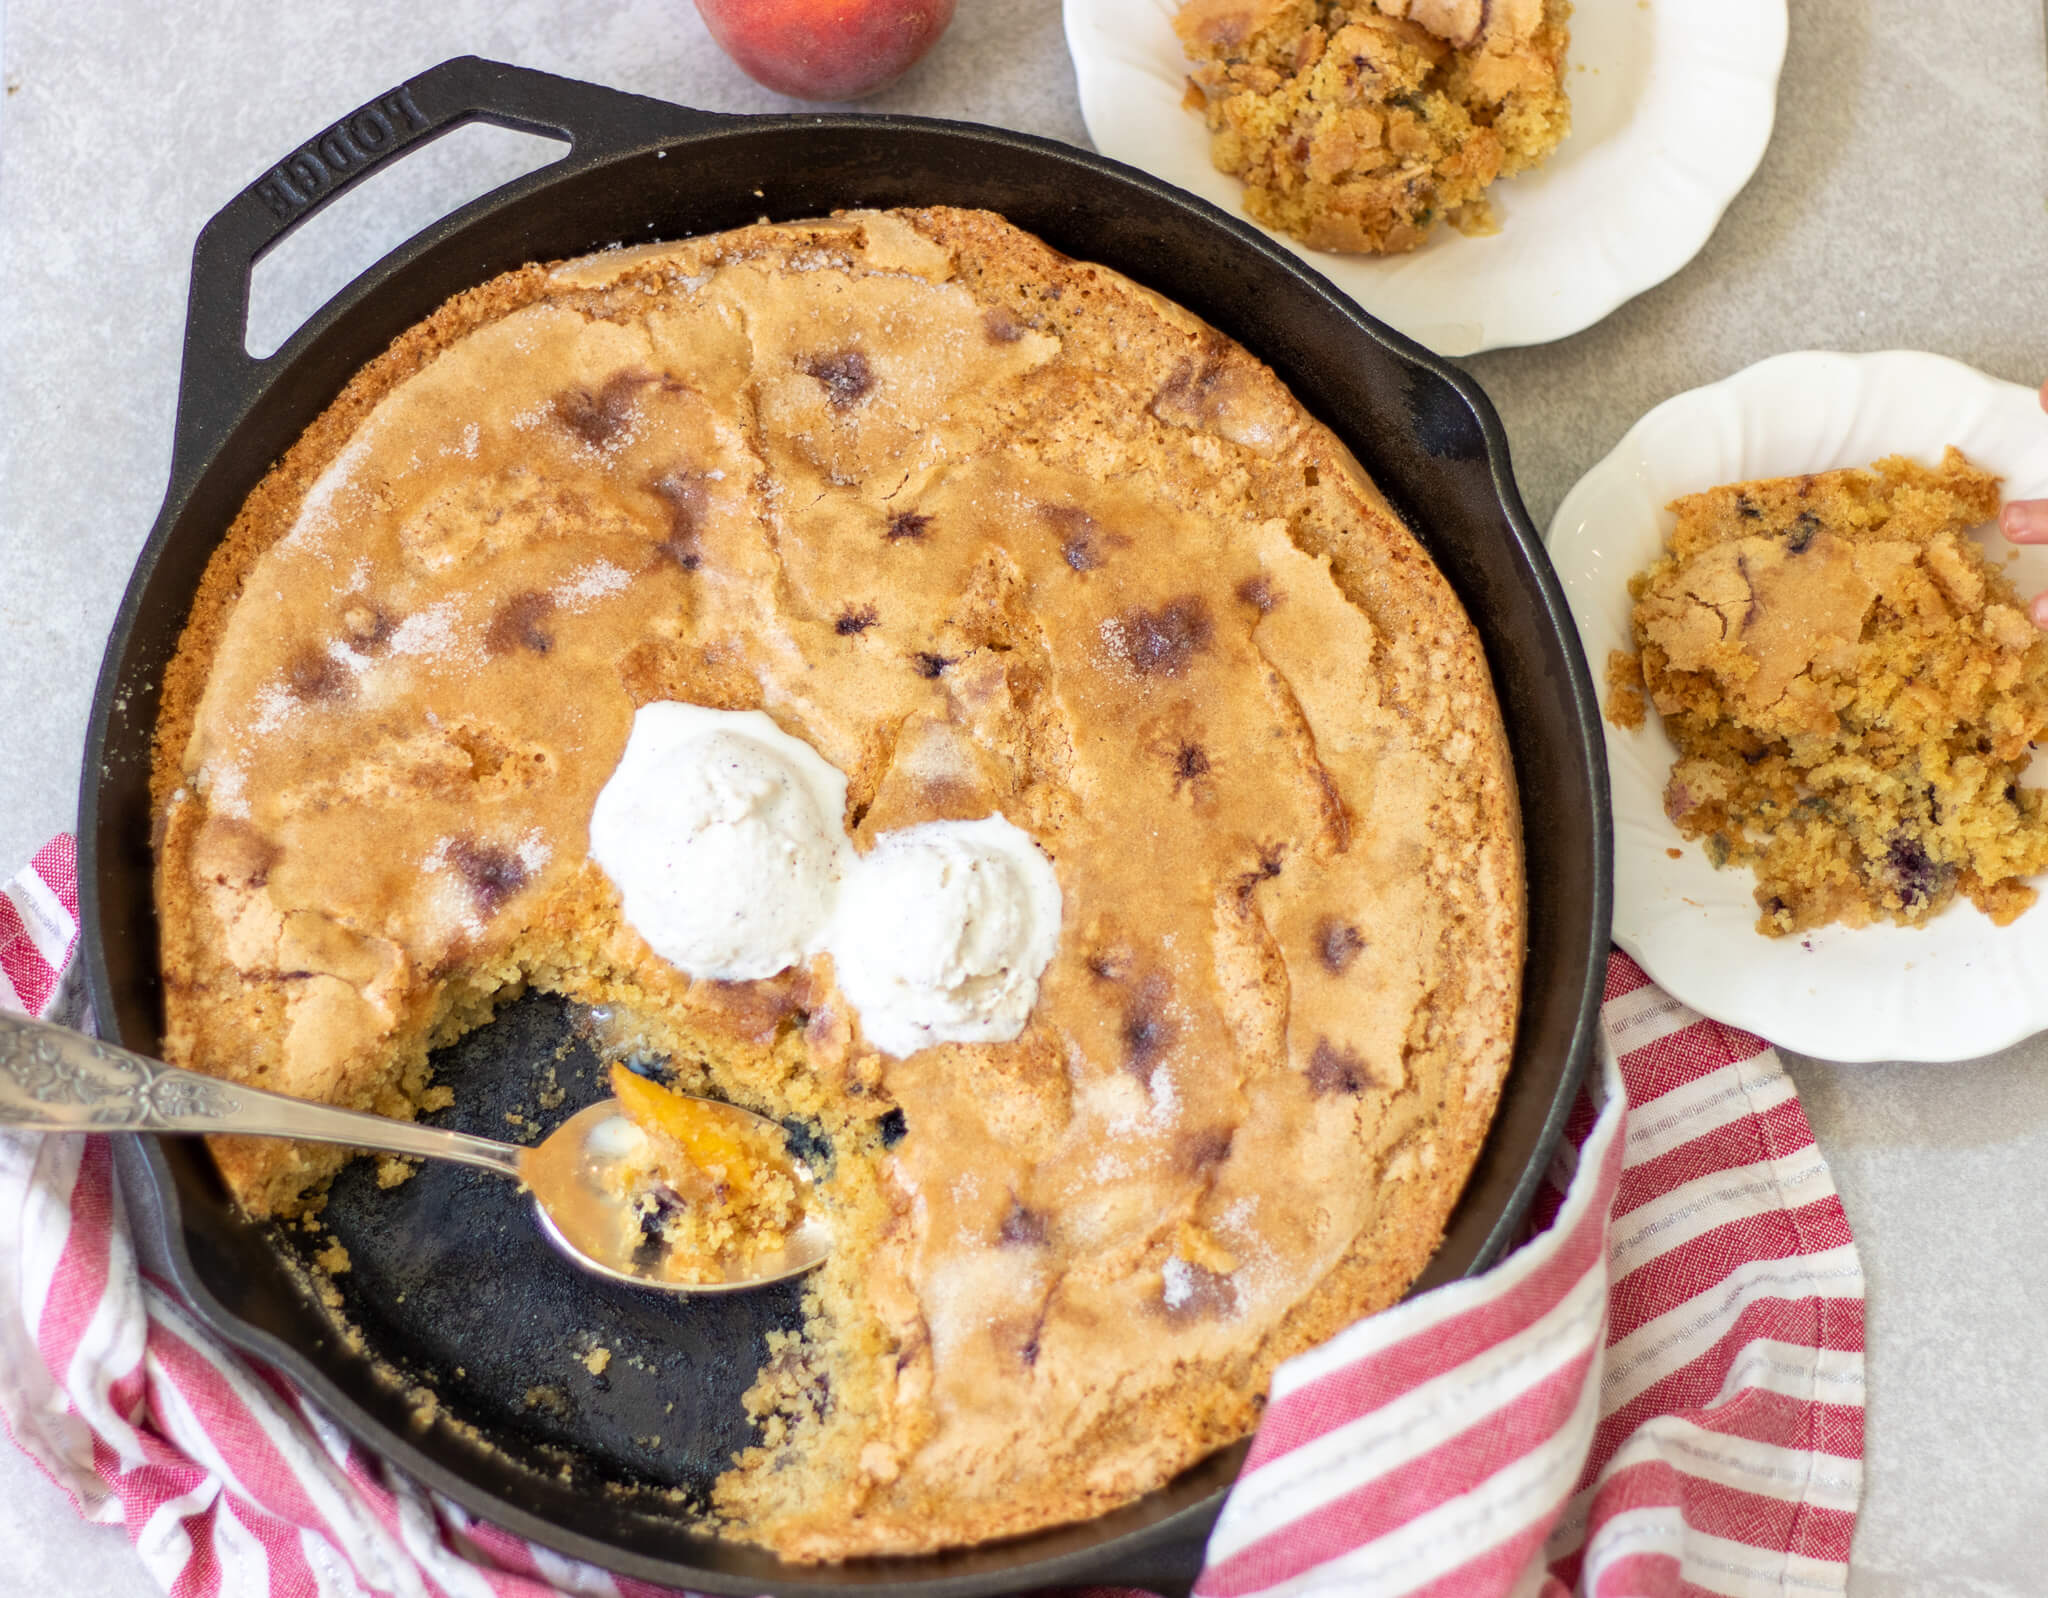
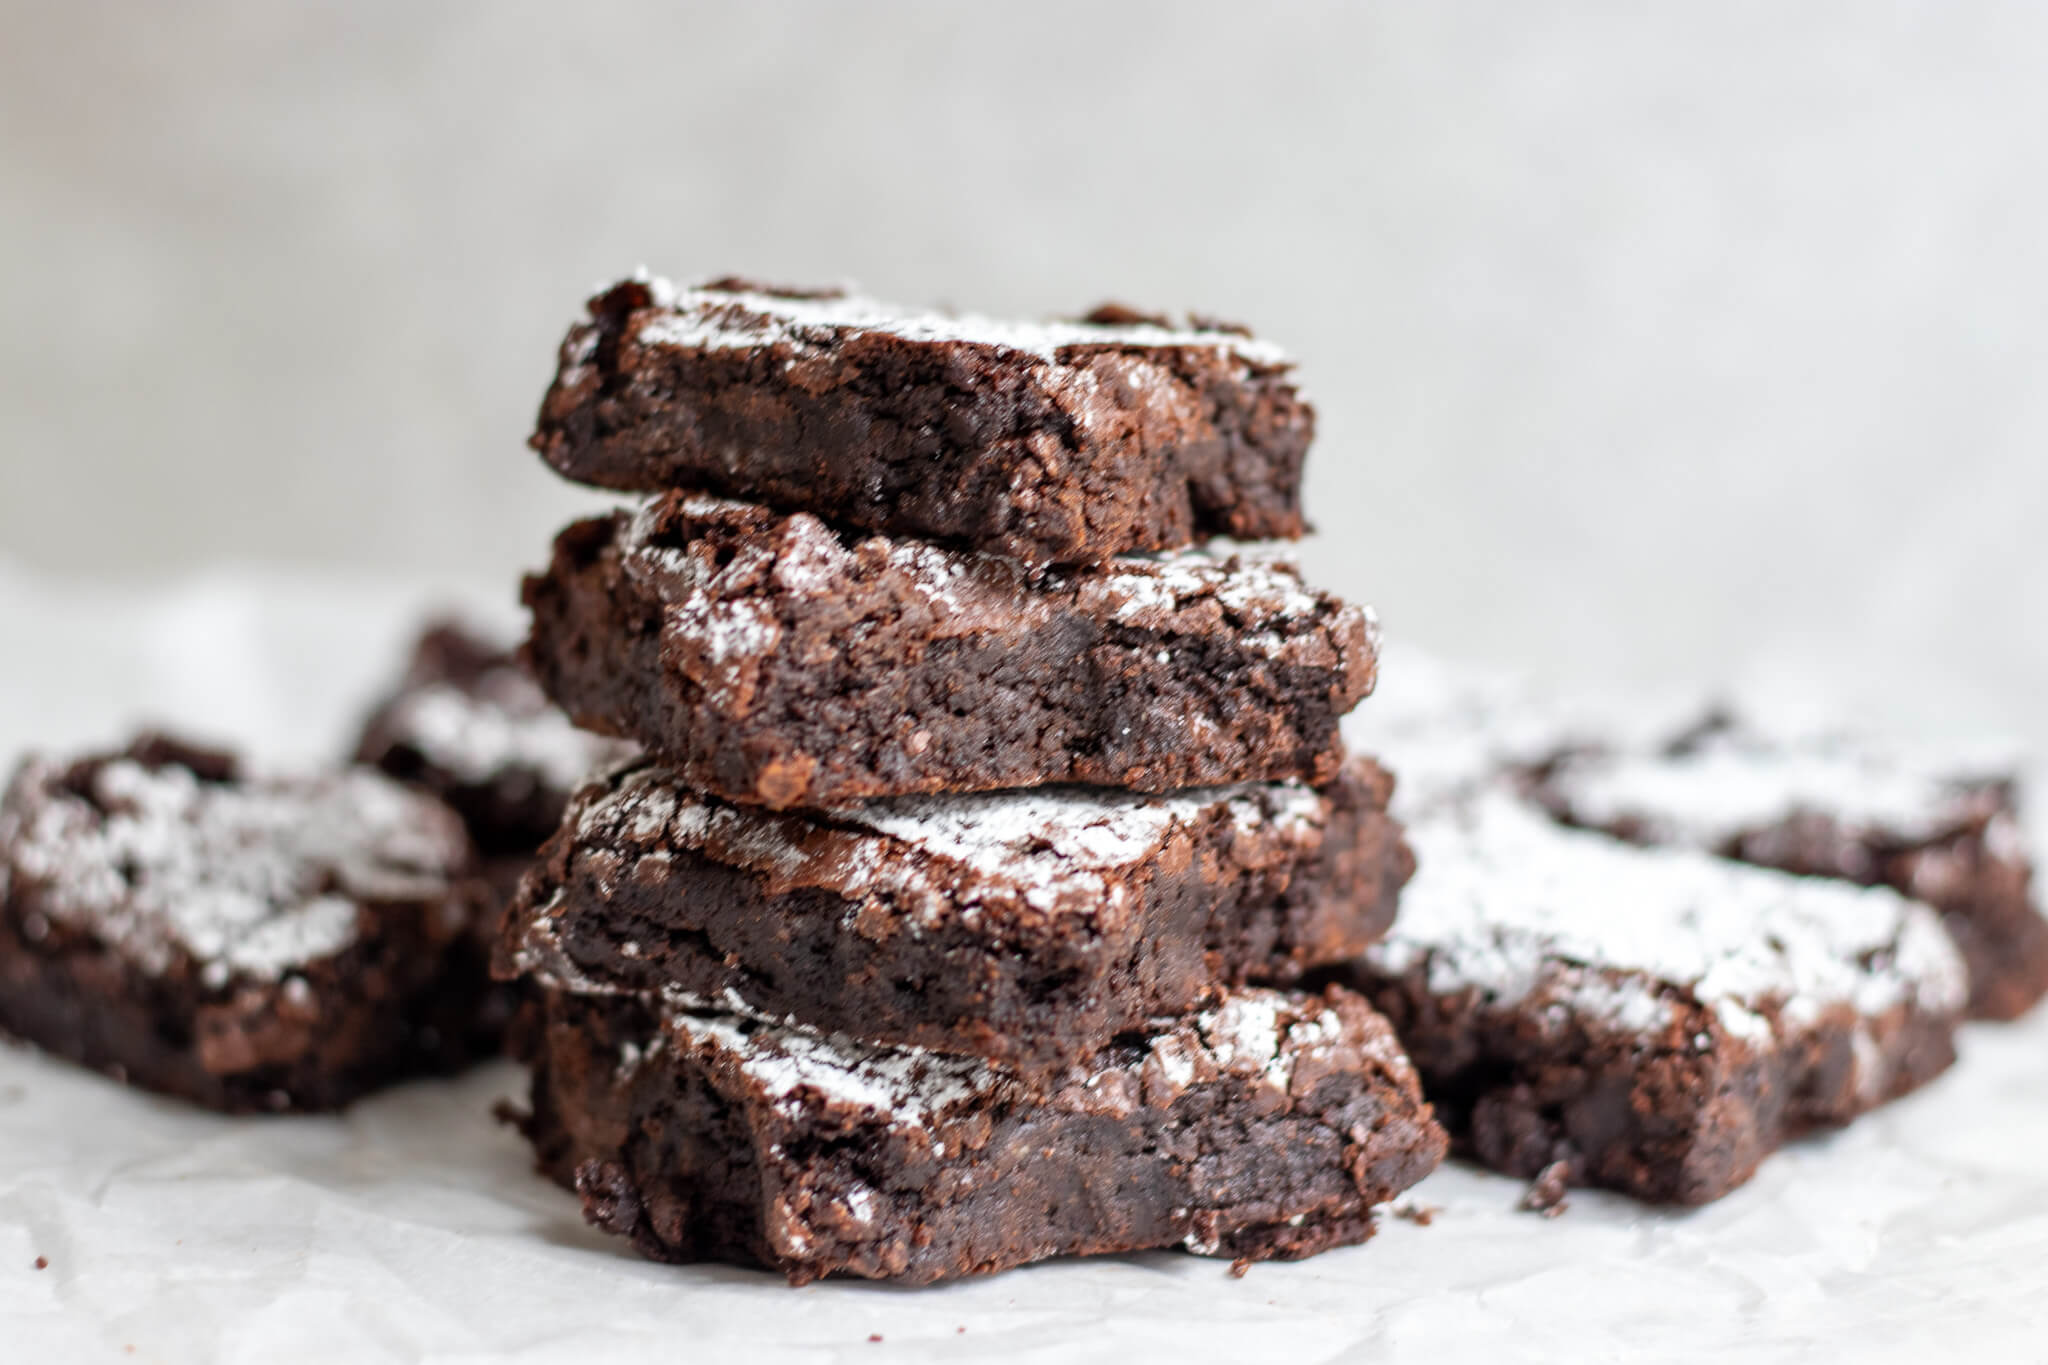
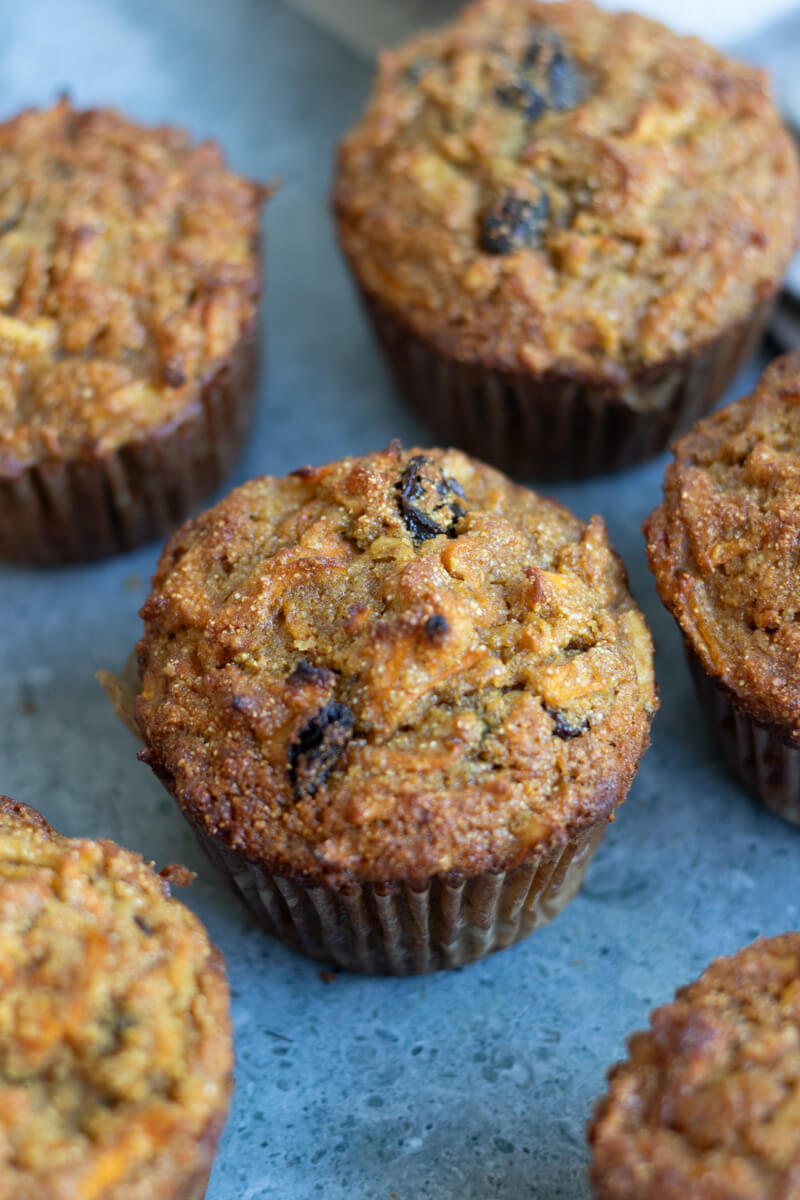
Need some recipes using freshly milled flour? Check out the below!
- Healthy Carrot Raisin Muffins With Fresh Milled Flour
- Easy Brownies Made with Freshly Milled Flour
- Chocolate Pecan Pie Bars with Fresh Milled Flour Crust
- Easy Whole Wheat Chocolate Chip Pumpkin Bread