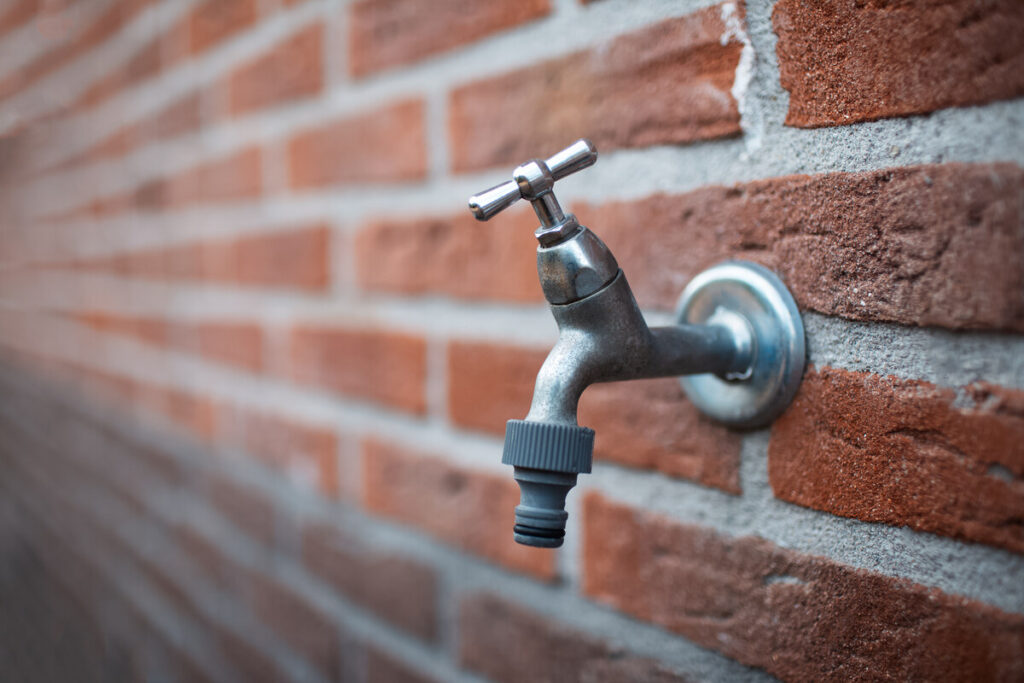
If you have not shut off and drained your outdoor faucet yet, now is the time. A little water sitting in that spigot over the winter can split the brass on the first hard freeze, and you might not find out until spring, when a leak soaks the siding or even an inside wall.
A cracked fitting, a puddle that will not go away, a surprise repair bill: these are classic cold-weather headaches. The good news is that this is one of the easiest home chores on the list. It takes a few minutes, needs no special tools, and works just as well on a brand new house as on an old one.
Why freezing water cracks a faucet
Most materials shrink when they get cold. Water does the opposite. When it turns to ice, it takes up about 9 percent more space than it did as a liquid. Out in the open, that hardly matters. Trapped inside a closed pipe or a faucet body, that extra volume has nowhere to go, so it pushes outward with a tremendous amount of pressure.
Brass is the go-to metal for outdoor spigots and their fittings because it holds up to rust and everyday wear. It was never meant to handle that kind of force from the inside, though. A hairline crack can form the very first night the temperature drops below freezing, and nothing drips right away. The trouble usually shows up during the thaw, once the ice melts and water starts finding its way through the crack. That delay is what catches so many homeowners off guard: you think you got lucky, when the damage was done weeks earlier.
What you will need
- Access to the indoor shutoff valve for the outdoor faucet
- A bucket or old towel for the last bit of water
- An insulated faucet cover (optional, but nice to have)
How to winterize your outdoor faucet
- Find the indoor shutoff valve. It is usually in the basement, crawl space, garage, or utility room, right before the pipe runs through the wall to the outside. It is easy to forget it even exists, but it is the key to the whole job.
- Close that valve all the way so no more water can reach the outdoor faucet.
- Head outside and open the faucet fully. Let the water left in the line run out until it stops.
- Check for a small drain cap on the pipe just past the indoor valve. Some setups have one. If yours does, unscrew it over a bucket to let out any water hiding in the bends of the pipe. Even a little water left in an elbow can be enough to burst a fitting.
- Leave the outdoor faucet open for the winter. If a few stray drops do freeze, the open valve gives the ice room to expand instead of building pressure.
Plan to do this in October, before the first frost is in the forecast, and your setup should be safe until spring.
Extra steps for more protection
- Disconnect your garden hoses. Water inside a hose freezes just as easily, and a hose left attached can hold water against the faucet. Drain them and store them somewhere dry.
- Add an insulated faucet cover. You can pick one up for a few dollars at any hardware store or garden center. It does not replace shutting off the water, but it adds a buffer against sudden temperature swings.
- Look over your fittings while you are out there, and replace anything that already looks worn or cracked.
- Consider a frost-free faucet if you live where winters get really cold. Its shutoff valve sits farther back inside the wall, away from the cold. It costs a bit more up front, but it means you can skip this routine each year and takes the risk of a split faucet off the table.
The bottom line
Shutting off the water and draining the line is a small job that can save you from a costly repair and a real mess inside the house. Outdoor plumbing is not complicated. It just needs a little attention before the cold settles in. Around here, it goes on the fall to-do list right next to putting the garden to bed.